Wednesday, December 25, 2013

Merry Christmas to You All!

Well, yep. I missed another couple of days, didn't I? I just find it difficult to do a post every day. I seem to run out of time. Well come to think of it - that's been my story all year. I've just run out of time!

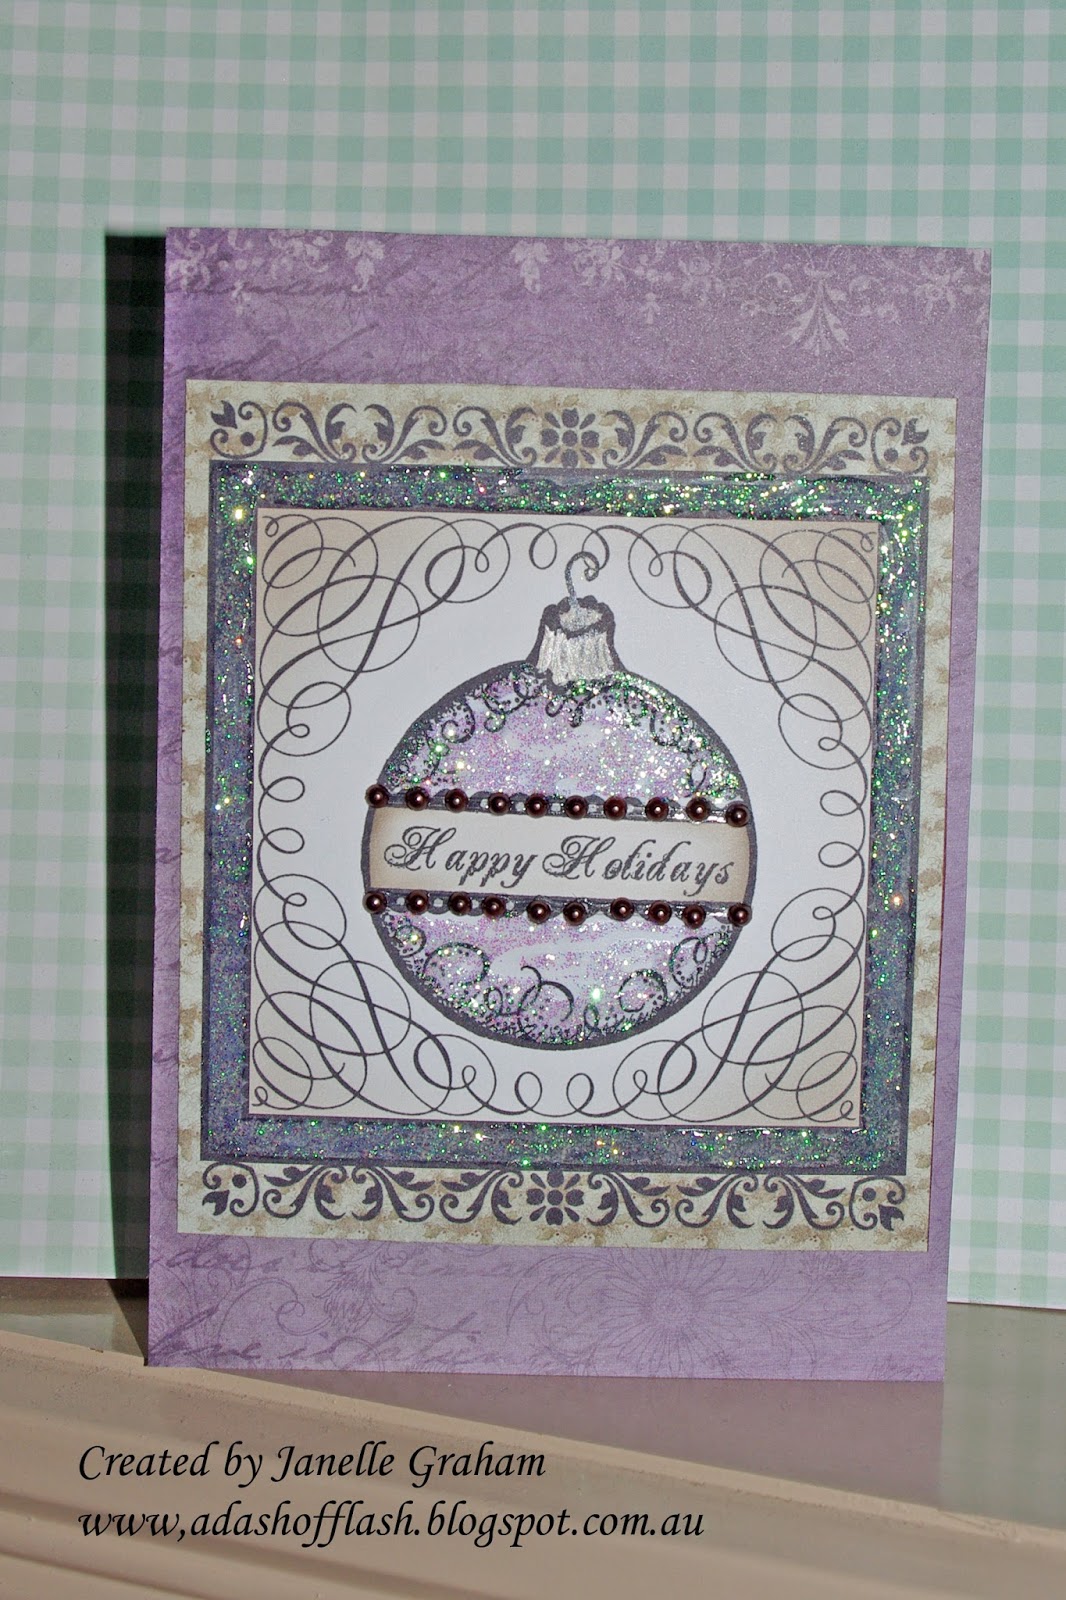
Anyway, I'm posting the remaining cards I made this Christmas. (There were others, but I posted them before photographing them. Not bright!) I'm not going to discuss each one as they mostly use the same stamps, dies and papers that I've mentioned previously. Here they are.


I will mention the Christmas Tree die used on the last card. It is from Hot Off The Press and worked really well with the Heartfelt Creations Collection. Plus a reminder for next year - start making the Christmas cards in August and don't used rhinestones - just glitter glue. They still ended up costing me a fortune in postage, as once I added a rhinestone, the cost went up "to protect them from damage from the machines".

Finally I want to say to all of my readers a sincere "Merry Christmas" and thank-you for your support this year. It has meant so much to me to know there are people who care about me, especially through some of the hard times I've had this year. To those of you who have sent Christmas wishes, thank you. You are all wished the very best for the holiday season and I hope that next year is prosperous, happy, safe and healthy for you and your families.

I'm sending you some Christmas roses. May they brighten your day.


Love to you all,
Janelle
:)

Sunday, December 22, 2013

Days 6 & 7 Christmas Cards for You

Hi again to all!

I'm including four cards today as I've missed a day - sorry!


My first card used a card topped from the Heartfelt Creations Christmas Card Paper Collection, which was so pretty on its own; but I jazzed it up with a die-cut greeting using the Cottage Cutz Homemade Christmas Gift Set and some red rhinestones.

This image is so lovely IRL.

This second card used the second run of the die cut sentiment I created for the card on Day 2, using the die from Cottage Cutz Homemade Christmas Gift Set . I used a card topper from Heartfelt creations, but the background paper came from Couture Creations.

I finished the card with some chocolate rhinestone strings; once again trying to stick with my "less bulk - less postage" concept for this year.

For this third card I really let loose! 

The cream cardstock was dry-embossed with a Couture Creations embossing folder called "Wild Poinsettia" which I thought appropriate since I added a smaller bloom from the Heartfelt Creations stamp and die collections. The leaves were die-cut using some leaf dies from HOTP, which worked well with the border cut from Spellbinders.
I also applied a strip of steel grey glitter using a strip of double-sided tape.


The last card for today was based on a die from Heartfelt Creations called "Banners and Trees". I die cut 4 trees, folded each one in half and glued the edges together to create the 3D tree. This idea came from Emma Lou Beechy, but she uses 5 trees. Even though it looks bulky, the tree can be folded down fairly flat for postage; and then spring back once it's reached its recipient. 

I also used a background label from the Spellbinders Majestic Labels Twenty-five. The glittered star was from the Banners and Trees set; cut from cardstock that had double-sided tape applied to it and then glittered after cutting. You can't see it very well, but the tree was cut from some pearlised cardstock, so it adds some nice texture to the card.

I'm enjoying my cards display and I hope you are seeing something to inspire you as I go along.

Lastly I must congratulate my friend, Therese Calvird, on a wonderful collection of bright floral cards in the latest edition of Australian Cardmaking, Stamping & Papercraft. These cards are totally delicious and have got me thinking about creating some floral cards after Christmas. Well done, Therese. It's always lovely to see you get the recognition you deserve.

Anyway, bye for now.

Love, Janelle

Thursday, December 19, 2013

Day 5 - Christmas Cards for You

The days are going too fast - I keep forgetting if I'd ready done the next post or if it's yesterday I'm thinking of. :) CFS brain! 

I'm back again with two more cards, made mainly using the Heartfelt Creations Christmas Card paper Collection, stamps and dies.


This first card was very easy to do as it used one of the card toppers, but I cut out the bracketed panel, stamped the greeting on to a white panel that I attached to the card front and then added the frame and the fussy-cut bird on a limb with some foam tape to add interest. (You can't see that part clearly in the photo, but the depth looks good.) I then added some rhinestone strings around the square. I then finished with a little glitter glue snow on the pine needles.
This second card used a piece of the B side of one of the papers. I then cut out an oval from some patterned scrap, stamped the greeting and coloured with Copic markers.

The die is from Spellbinders Majestic Labels Twenty-five. I used a purpley-grey cardstock, which was the closest I had to the grey-blue on the paper. I love the unusual colour combo and the red rhinestones somehow stop the card from being boring. 
What do you think?

Anyway, that's all for now. See you again tomorrow.

Love, Janelle

Tuesday, December 17, 2013

Day 4 - Christmas Cards for You

Welcome back for another dose of Christmas inspiration.


My first card here is another very simple one that used the card topper and just a little glitter glue around the snow and some red rhinestones on top of the flower in each corner embellishment.

The stamped sentiment came from the Christmas Song Precut stamp set. (I've used it on some other cards also.)

I wanted to keep my postage costs down as much as possible because last year I had to pay double the standard for a lot of my cards, and it ended up being very expensive. Consequently this year, I'm trying for fewer layers and smaller rhinestones, unless I plan to hand deliver.


My second card here used the Christmas tree die from the Banner and Trees die set from Heartfelt Creations/Spellbinders. 

I copied a technique from Emma Lou Beechy where she die cut a number of trees and then adhered them to the cardstock background so they are placed "head-to-tail" across the panel; thus creating such a pretty background. Alternately, if you had a large background die, you could just used it; but it's nice to make it a little more original.
I attached some white vellum flowers that I made using the Posy Patch stamp and die sets that I then heat embossed with white embossing powder. I finished them with a dab of clear glitter glue in the centres. The sentiment panel came from the Christmas Card Paper Collection.

Thanks for taking the time to look at my creations as I'm enjoying showing off ...ur...showing them off to you.

Bye for now,
Janelle

Day 3 - Christmas Cards for You

I almost forgot!

Here are another two cards that I've created for my friends and family for this Christmas season. 


This first card used the Poinsettia stamp set and the Sun-kissed Fleur die set, as well as the Christmas Card Paper Collection  from Heartfelt Creations. I used some stray light gray paper for the background, but I don't remember its source.

On the tips of the petals I applied some clear glitter glue and the centre was achieved by dropping a dab of Diamond Glaze and then sprinklings of copper and bright gold glitter.

Not sure about the colour of the poinsettia, though; perhaps it's a little too pink.

This second card is much more simple and only involved some glitter glue around the edges of the foam-taped sentiment strip and in the centre of the star.

When the colours are muted, like in this collection, it becomes difficult to find (at times) the right coloured cardstock to match.


Wait until you see one of my cards tomorrow. You'll be surprised!

Anyway, bye for now,
Janelle

Sunday, December 15, 2013

Day 2 - Christmas Cards for You

Back again with another couple of Christmas cards for you to see.

This first card uses a card topper from the Heartfelt Creations Christmas Card Collection, but I didn't like the sentiment that was printed inside the centre; so I die-cut the Merry Christmas out of some cream and red cardstock, backed it with some double sided adhesive paper, replaced the cream for red letters and then sprinkled on green glitter for the swirls. The die is from Cottage Cutz Homemade Christmas Gift Set that I got on sale at Photo Continental. (You'll see a couple more of these dies used in the next couple of days.)

You can't see it very well but the glitter in the swirls is really pretty and lifts the otherwise plain card.

This second card uses the paper and another card topper from the collection (as well as the stamp); but I have to admit to a stamping mishap - didn't position it properly - so I cut out the centre of the topper panel, stamped again on the card front and secured the frame and the bird image in place. I raised the bird on foam tape so it stands out nicely IRL. I had to finish with the rhinestones - I love the effect!


Anyway, that's all for today. See you again tomorrow with another couple of cards.

Bye,
Janelle

Saturday, December 14, 2013

A long time ... no see!

Welcome back! I've been incommunicado for a while, for which I apologise. Life got in the way and my blog had to take a back seat (though I did have a few commissions that had to be done).

I'd firstly like to share some good news and that is my husband has a new job. While it's only a four month contract, at least it's something, and we're hoping it leads onto something more permanent in the near future. (Big sigh and smile from relieved wife)


One of the commissions I had to do was to use the technique of bokeh. I'm showing you one of my prototypes. While it didn't suit the rest of the cards in the set, it was too pretty to throw away. I especially loved the colour combo I used (especially the purple). The sentiment is a lovely one from Kaisercraft and I heat embossed it in clear embossing powder over black ink. In the photo you can see that the embossing powder went over some of the background. (Yep, I forgot to use my anti-static pouch!) But I don't mind this effect, because I think it looks like the sentiment is sort of dreamy as well. I also used some of the Annabelle Stamps Scribble Scrabble-Round and Round stamp set for the background.  I'd not done much bokeh before, so it was a steep learning curve; especially working out what colours to use and the depth of colour that's best. I don't know whether this one really is "Bokeh" but I like it.


Christmas Cards
for You
Until Christmas, I will be sharing some Christmas cards that I've made for my friends and family. They were made using the Heartfelt Creations Christmas Cards Paper Collection as well as some of their stamps and dies. I aimed for quick and easy, but still stylish; but sometimes I got carried away. I hope you like them.


The sentiments on these cards aren't Heartfelt Creations but some freebies from the magazines I bought during the year. I love the "Merry Christmas" stamp - you'll see it in some of the other cards - and you can't see it in the photo, but the layer is raised on foam tape and the sentiment panel is flat on the card front. I coloured it in watercolouring pencils but didn't blend it or anything. 

Anyway, I'll be back with more tomorrow.

Bye, for now,

Janelle